


Here's my third, and final, entry for the Holiday Cookie Exchange, hosted by Dawn at SoCal Foodie. If you haven't yet participated, there's still time to join in throughout the rest of the weekend!
I had trouble choosing what I would make this time, especially because I knew I had only the ingredients already in my kitchen to work with - we leave on Wednesday to drive home to Colorado for Christmas. But I also have a (sometimes annoying) habit that once I see something that I think is great, be it a recipe or a food product in the store, I have to have it, or make it. Right away. This has been the case since I saw an advertisement for homemade marshmallows yesterday.
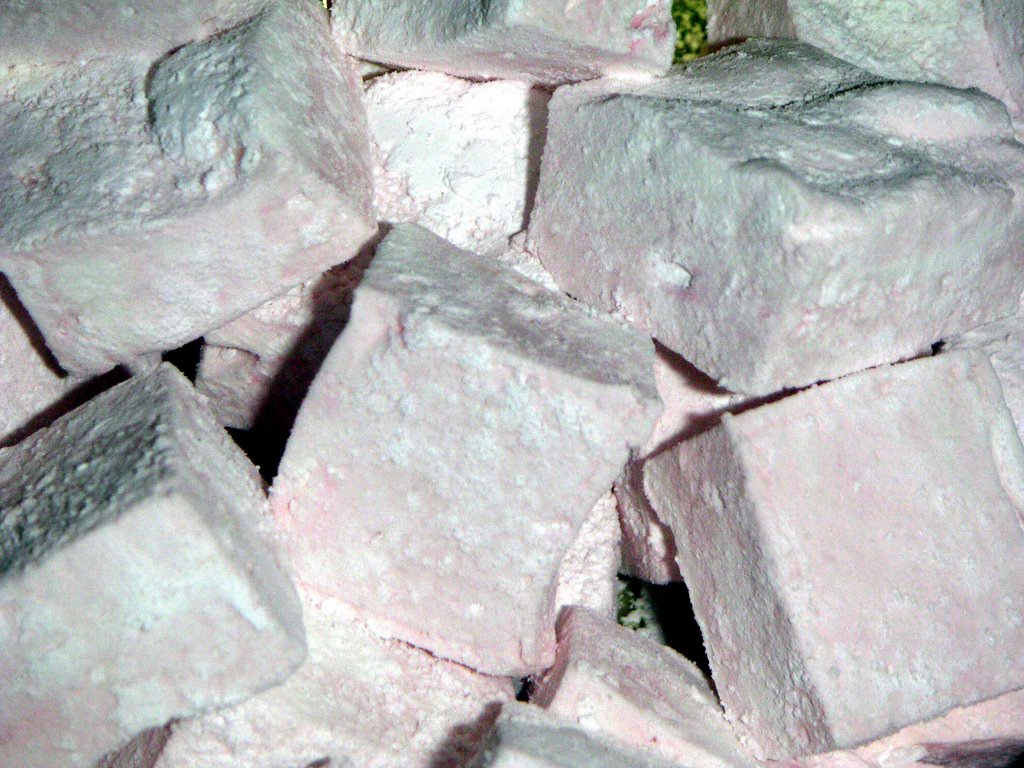
Homemade marshmallows.
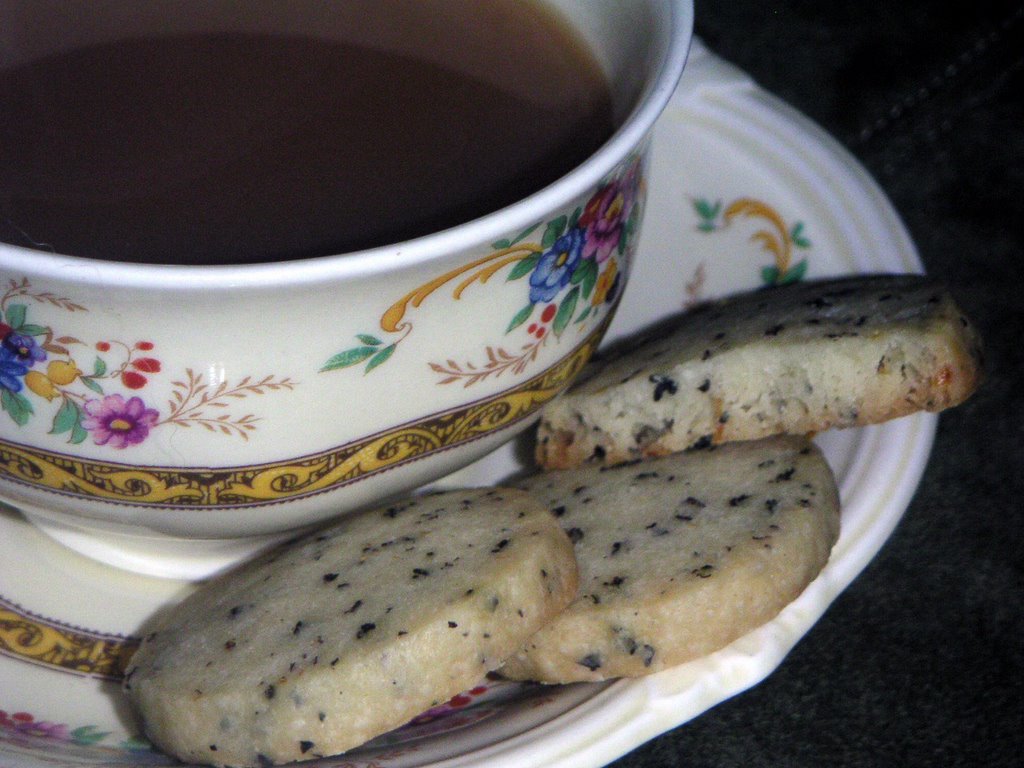
Soaking in a cup of peppermint schnapps-laced hot chocolate.

Soaking in a cup of peppermint schnapps-laced hot chocolate.

Mmmm... I looked on the Internet to buy them - "hand-crafted marshmallows." There were several types available, from all over the place. But wait! I'm broke! I don't get paid until the end of the month - after Christmas. And they tend to be a bit pricey for what they are. But wow, are they sure pretty. So, I thought, maybe I can find a recipe for them. Perhaps they aren't too difficult to make myself (home-made is always better, anyway, right?). I found a recipe on www.epicurious.com - and it didn't look too difficult. And it got rave reviews.
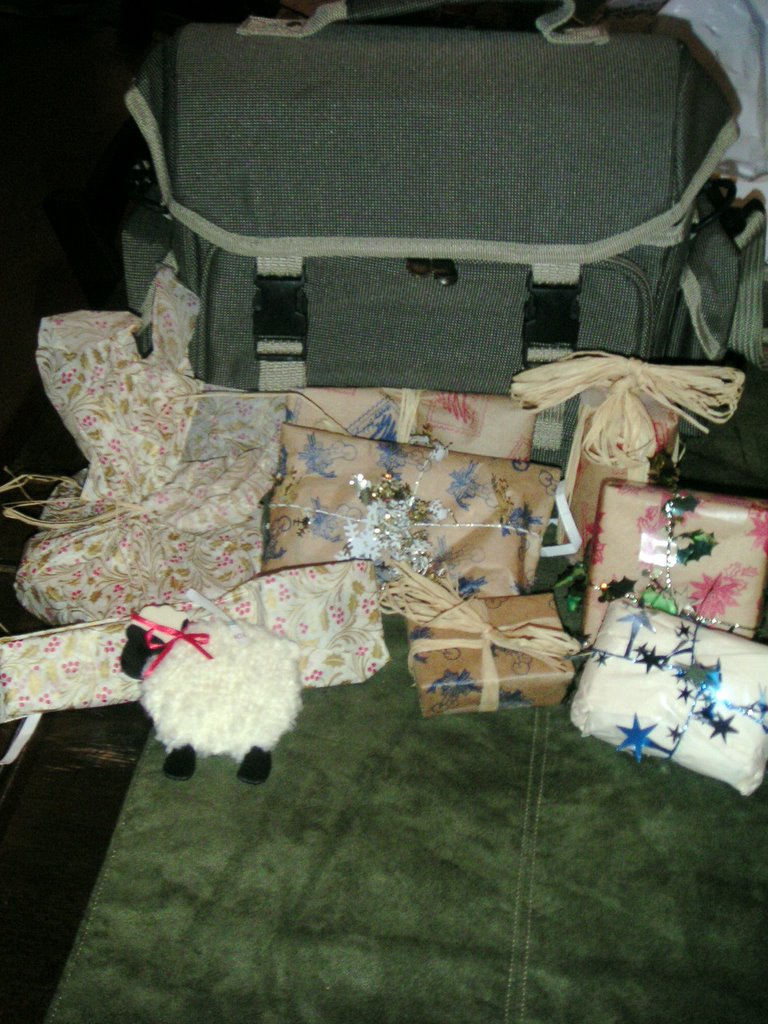
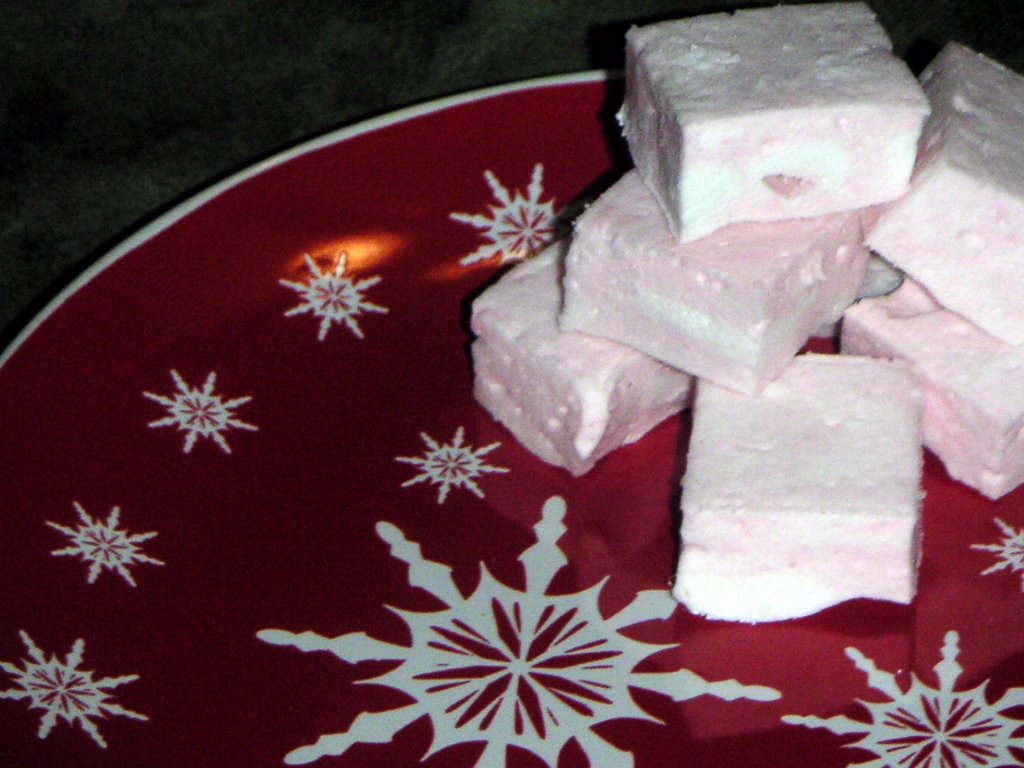
I could make these for the Holiday Cookie Exchange! Now, I know these aren't your traditional cookies...but can't you just see little cellophane bags filled with homemade marshmallows, tied together with a Christmas bow? Perhaps alongside a homemade hot chocolate mix to give to the neighbors, or your friends? Doesn't everyone love hot chocolate with marshmallows on top??? I apologize that my pictures are not more Christmas-y...but after scouring the house, I realized that I do not own a single Christmas-y dish! Nor any cute bows or anything fun to make a neat Christmas picture with my marshmallows! I guess that's what you get for still being a student! Loving Boyfriend and I actually tried to make an igloo out of the marshmallows on a red napkin, thinking this would be the coolest picture of Christmas marshmallows out there - but it was quite possibly the ugliest igloo I've ever laid eyes on...so we dismantled it and decided against having photographic evidence of it ever existing.
They taste fabulous. And they're cute (well, I think so). Except that in an effort to make them more Christmas-y, I added red food coloring - hoping if I added just a bit and didn't stir too much, they would come out looking streaky and pinkish red, like these. But no, they just turned out baby girl pink. I should have made them green. I even tried to dab on red food coloring after the fact, but this does NOT look pretty. If I had money and time, I would have also gone to the store and added a bit of peppermint extract, to make them even more like Christmas marshmallows.
Just think of the possibilities! Cinnamon marshmallows over mexican hot chocolate. Coconut marshmallows. Cutting out shapes of pastel-colored marshmallows - perhaps little Peeps for Easter! Smores. Or how about dipped in dark chocolate and covered with graham cracker crumbs for a Smores rendition? I think that these will definitely become part of my repertoir. Apparently, though, you shouldn't make rice crispy treats out of them (I'm not sure why, but one reviewer said definitely not to do this...followed by "EW" in capital letters!).
Marshmallows, from epicurious.com
about 1 cup confectioners' sugar
3 1/2 envelopes (2 tablespoons plus 2 1/2 teaspoons) unflavored gelatin
1/2 cup cold water
2 cups granulated sugar
1/2 cup light corn syrup
1/2 cup hot water (about 115°F.)
1/4 teaspoon salt
2 large egg whites*
1 teaspoon vanilla
*if egg safety is a problem in your area, substitute powdered egg whites reconstituted according to manufacturer's instructions
Oil bottom and sides of a 13- by 9- by 2-inch rectangular metal baking pan and dust bottom and sides with some confectioners' sugar.
In bowl of a standing electric mixer or in a large bowl sprinkle gelatin over cold water and let stand to soften.
In a 3-quart heavy saucepan cook granulated sugar, corn syrup, hot water, and salt over low heat, stirring with a wooden spoon, until sugar is dissolved. Increase heat to moderate and boil mixture, without stirring, until a candy or digital thermometer registers 240°F., about 12 minutes. Remove pan from heat and pour sugar mixture over gelatin mixture, stirring until gelatin is dissolved.
With standing or a hand-held electric mixer beat mixture on high speed until white, thick, and nearly tripled in volume, about 6 minutes if using standing mixer or about 10 minutes if using hand-held mixer. In a large bowl with cleaned beaters beat whites (or reconstituted powdered whites) until they just hold stiff peaks. Beat whites and vanilla into sugar mixture until just combined. Pour mixture into baking pan and sift 1/4 cup confectioners sugar evenly over top. Chill marshmallow, uncovered, until firm, at least 3 hours, and up to 1 day.
Run a thin knife around edges of pan and invert pan onto a large cutting board. Lifting up 1 corner of inverted pan, with fingers loosen marshmallow and let drop onto cutting board. With a large knife trim edges of marshmallow and cut marshmallow into roughly 1-inch cubes. Sift remaining confectioners' sugar into a large bowl and add marshmallows in batches, tossing to evenly coat. Marshmallows keep in an airtight container at cool room temperature 1 week.
Makes about 96 marshmallows.
My notes: You should either own two bowls for your stand mixture, or use a handmixer for beating the egg whites. I don't own a second bowl, nor a handmixer (I killed it to get the stand mixer...he he he) so I tried holding a separate bowl under the paddle to do the egg whites, and this was quite nearly a disaster...and probably dangerous! I'll be purchasing a second bowl for my mixer right after Christmas to save myself from ever having to do this again!
Wash everything right away - it's really gooey! And transfer the mixture to the pan immediately after you've combined everything - it gets sticky fast. I also took the advice of one of the reviewers and oiled my hands and used them to flatten out the mixture right after I put it in the pan - this worked great! And my last bit of advice is to use either a very hot, large, sharp knife or a very sharp pizza cutter to cut them.